Obol Distributed Validator package for Dappnode
Introduction
The Obol Network package for Dappnode aims to make it seamless for Dappnode users to integrate and benefit from Obol's Distributed Validator Technology (DVT).
A Distributed Validator is one or more logical Ethereum validators being operated across a number of nodes that are all online simultaneously and that all control a subset of the validators' private keys. Each of these nodes need to run an Execution client, a Consensus client, a Distributed Validator client, and a Validator client/Key Manager. The distributed validator clients in these nodes come to consensus on what should be signed before constructing a signature for the validator that will be accepted by the wider Ethereum network. Dividing a validator across a group of nodes allows for fault tolerant validators that can remain online and validating despite a subset of its nodes experiencing an outage, contributing to a stronger and more resilient network.
The Obol Dappnode package is available for Ethereum Mainnet and the Holesky Testnet.
Requirements
- The first thing you'll need to do is set up a fully-synced node. This can be done through the Stakers Menu in Dappnode by selecting:
- 1 Execution Client (Geth, Besu, Erigon or Nethermind)
- 1 Consensus Client (Prysm, Lighhouse, Lodestar, Teku or Nimbus)
- MEV Boost (optional)
- Install the Obol package from the DAppStore.
First Steps
You need to ensure every operator in the Cluster is competent and trustworthy before sharing this responsibility. Negligence on behalf of others in your group can put you at risk, however as far as 66% of these nodes are synced the validators will keep performing their duties.
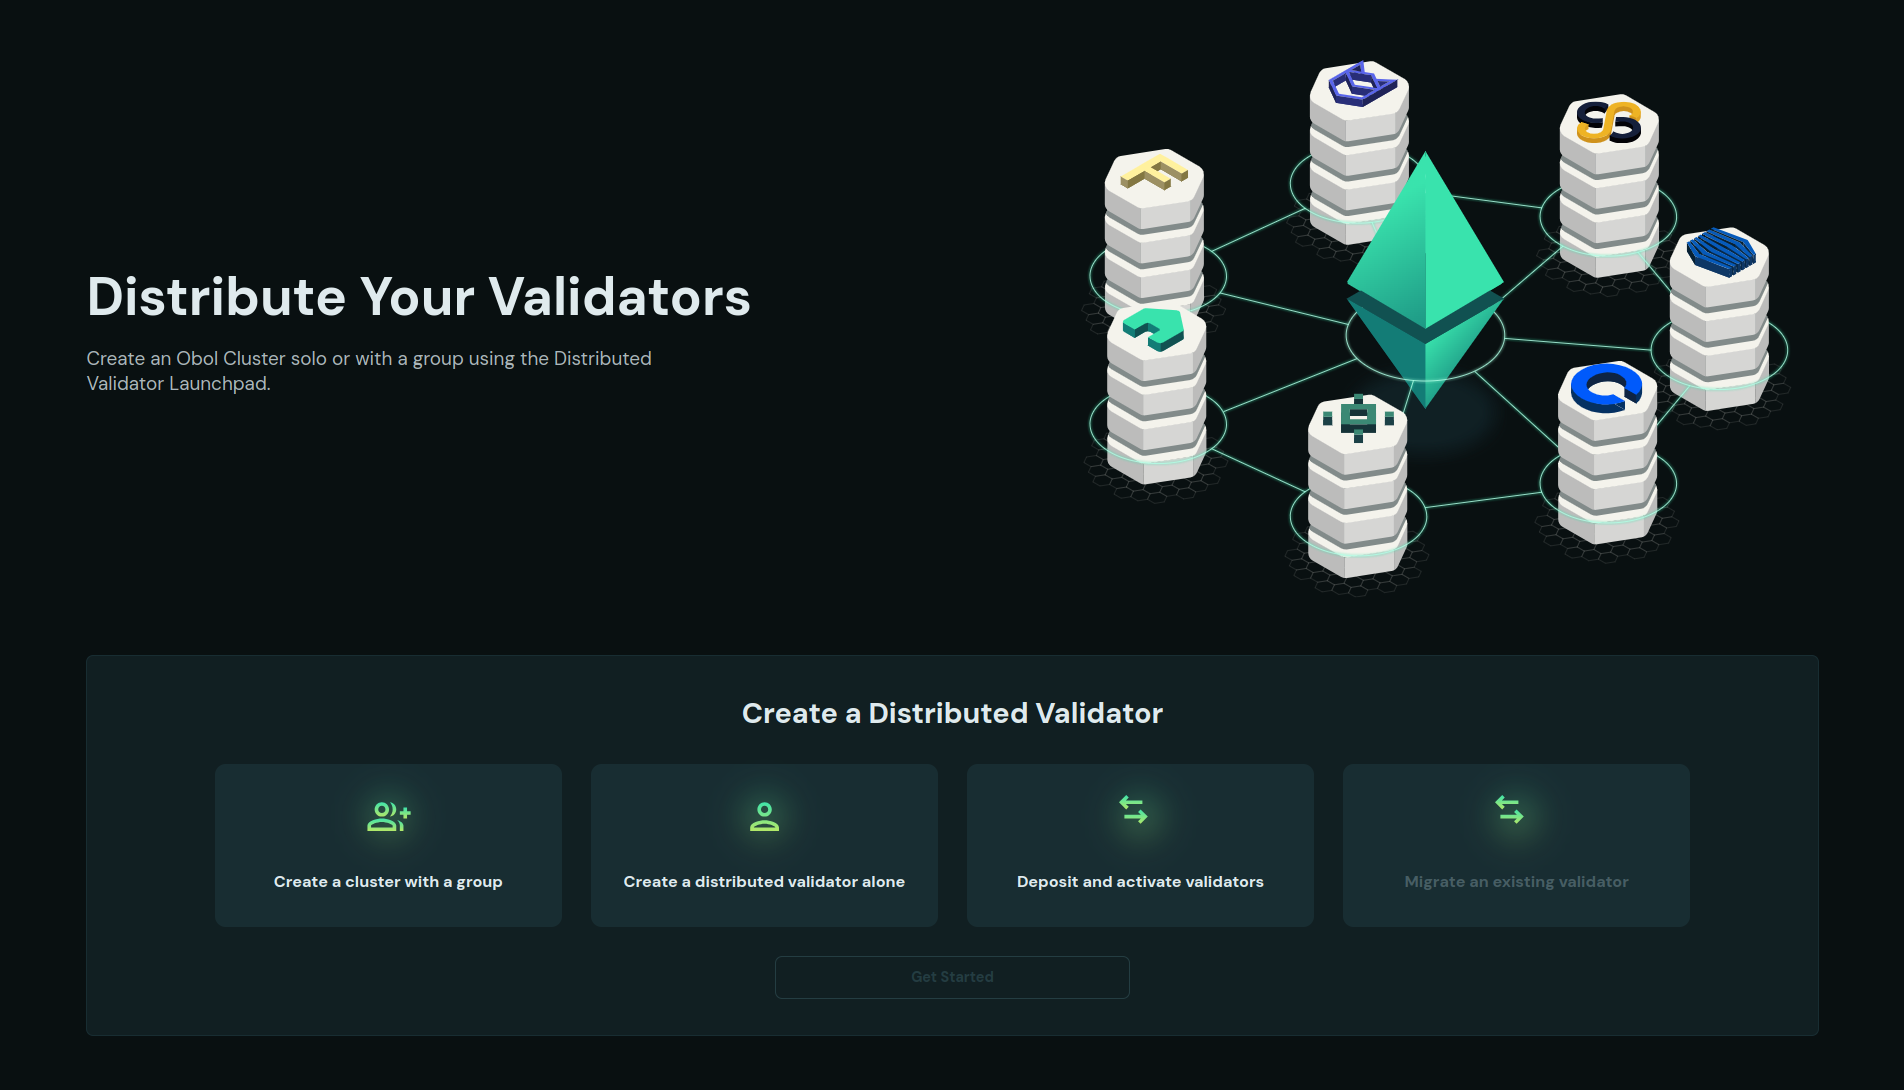
Once all participants have synced nodes, you'll need to install the Obol Dappnode package. After Dappnodes are ready, the next steps will take place at Obol's Distributed Validator Launchpad. There's a launchpad for Ethereum Mainnet and another one for the Holesky Testnet. Start by connecting your wallet and selecting the option that best fits your DV's distribution and setup.
Cluster Configuration
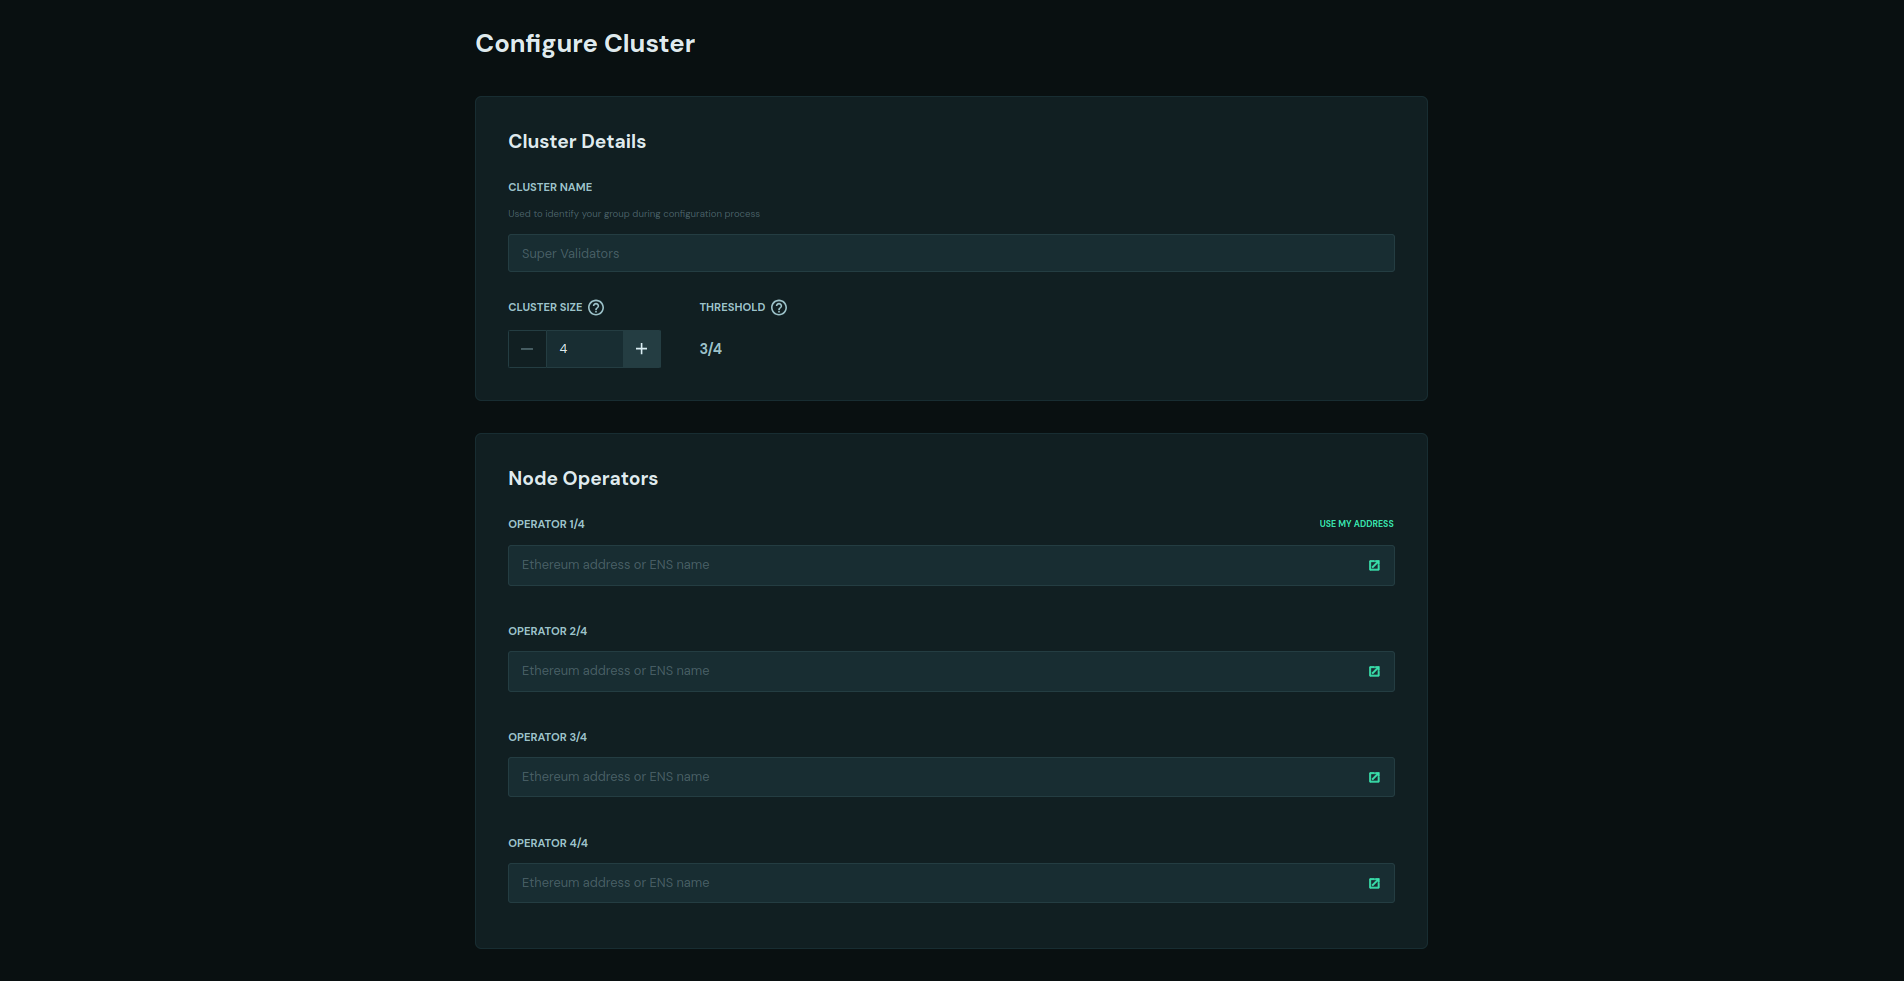
For creating a new cluster with a group, all operators must have an operator's address, which will submit the necessary information to the launchpad. The first step in the configuration process will be to select the cluster size and to enter the operator's adresses.
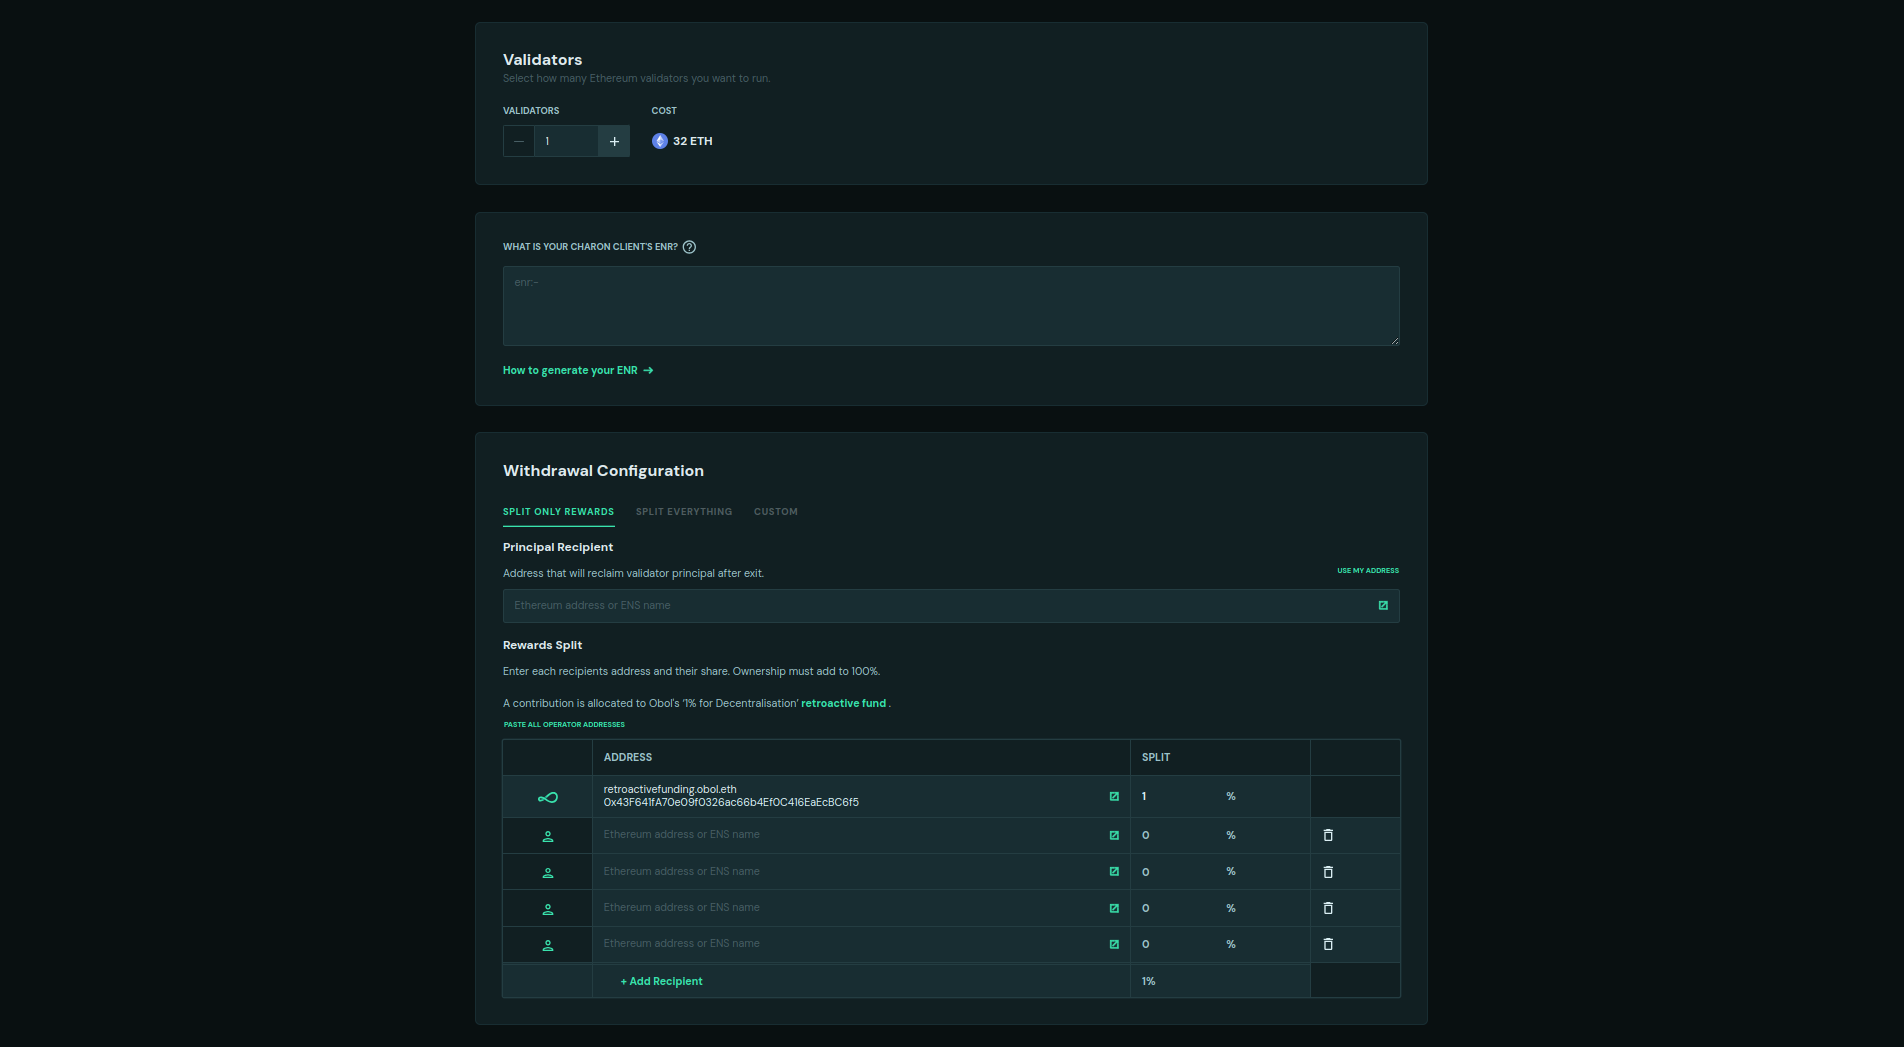
In this next step, you'll be required to enter your Charon client's ENR, which is a public key that will give your node a unique ID. This ENR can be obtained after installing the Obol Dappnode package under the Info tab.
The Obol Dappnode package supports up to 5 ENRs. This means that you can participate in 5 different clusters with 5 different ENRs using the same package, however it's important to properly backup the package's database if the generated ENRs are committed to functional clusters.
Next, you'll need to specify the amount of validator keys that this cluster will be generating and how these validators will be splitting the rewards. You can read more about the Obol Splits contract and the different options it offers in Obol's documentation.
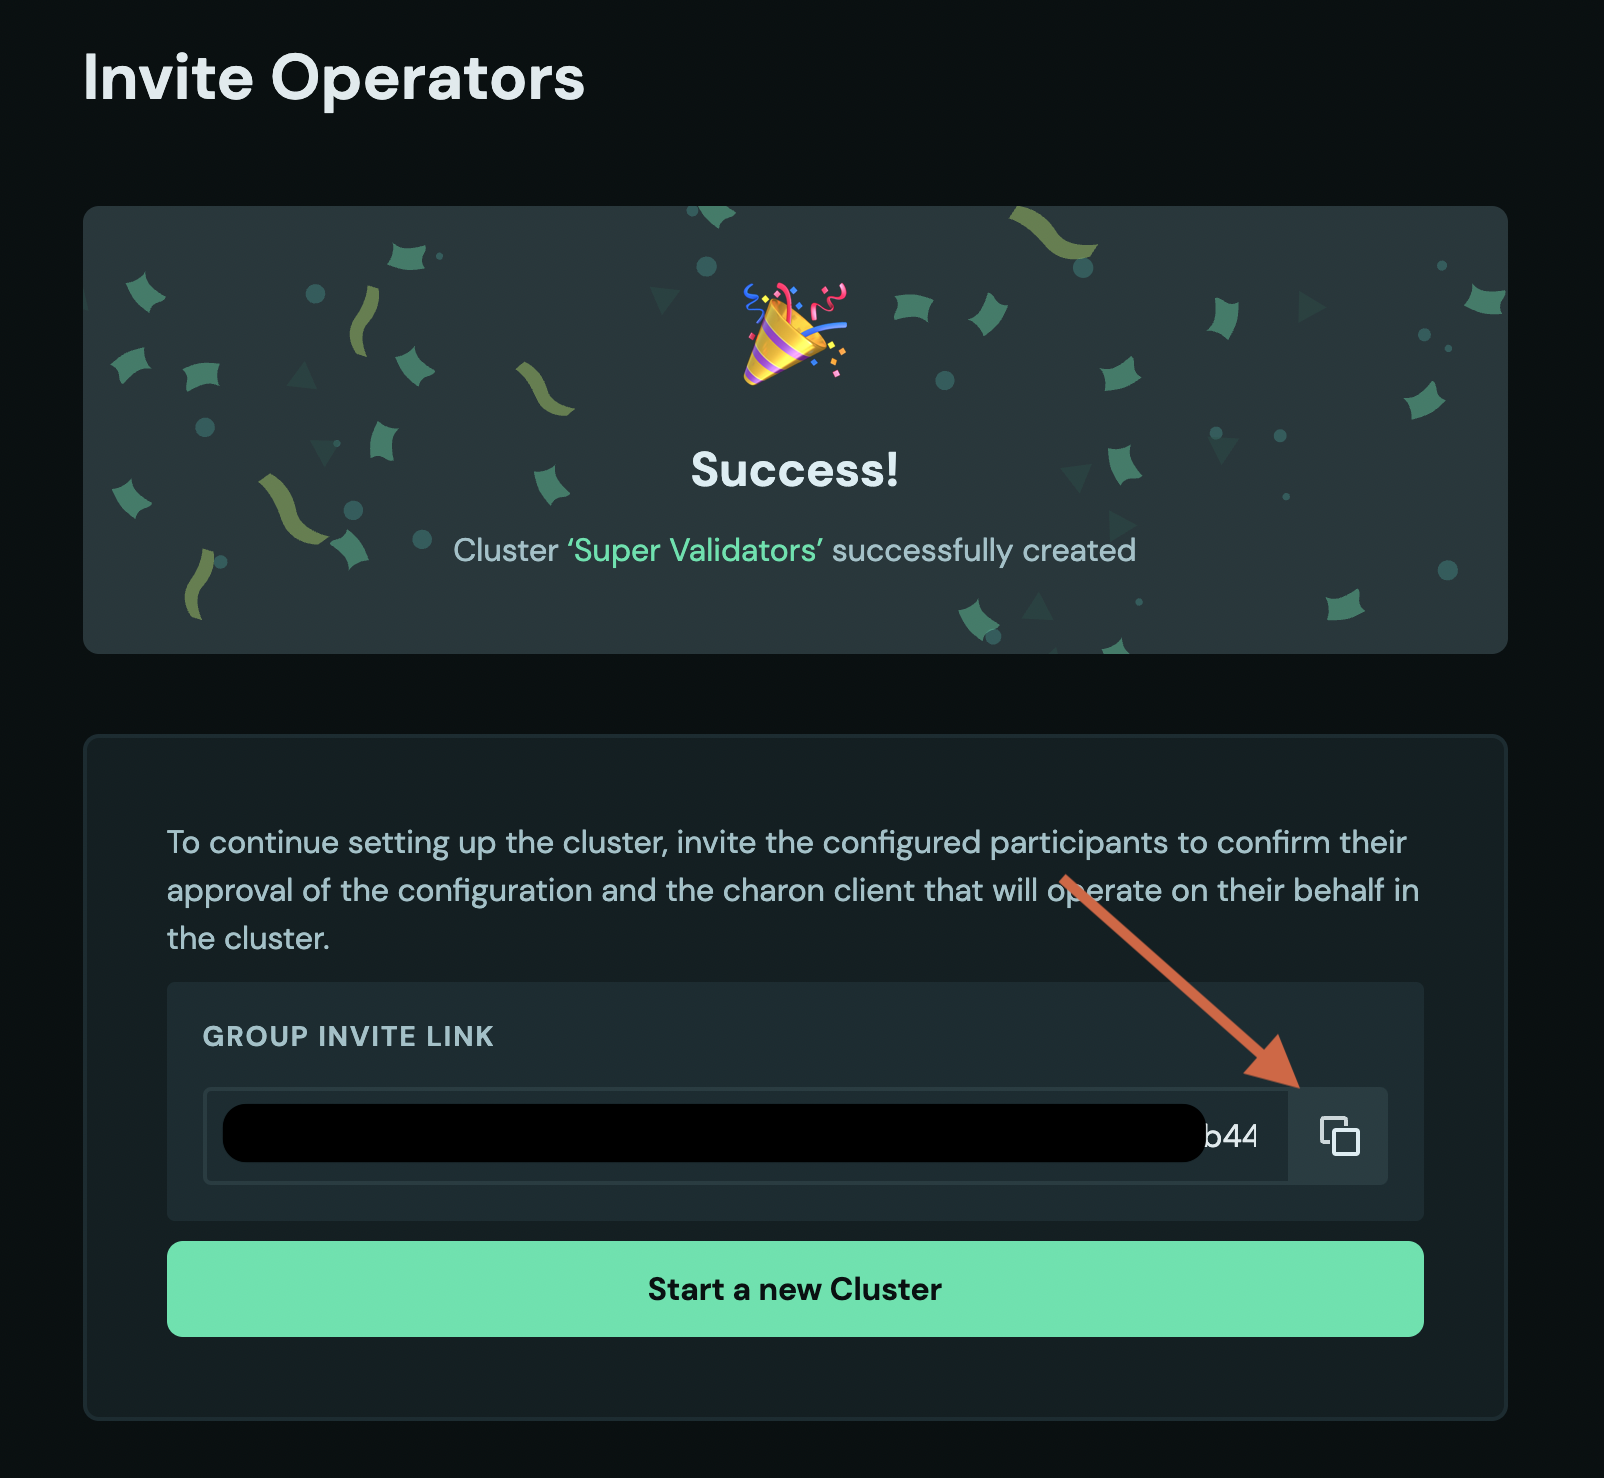
The last step will require that you perform a signature from your operator's address to generate a cluster invite link. You'll need to share this invite link with the rest of the operators so that they can register their ENRs and set everything up for the Distributed Key Generation (DKG) event.
Distributed Key Generation (DKG) Event
After all operators have successfully submitted their ENRs, the Obol launchpad will generate a "Definition File URL" we'll need to load in our Obol Dappnode package's configuration to proceed with the DKG.
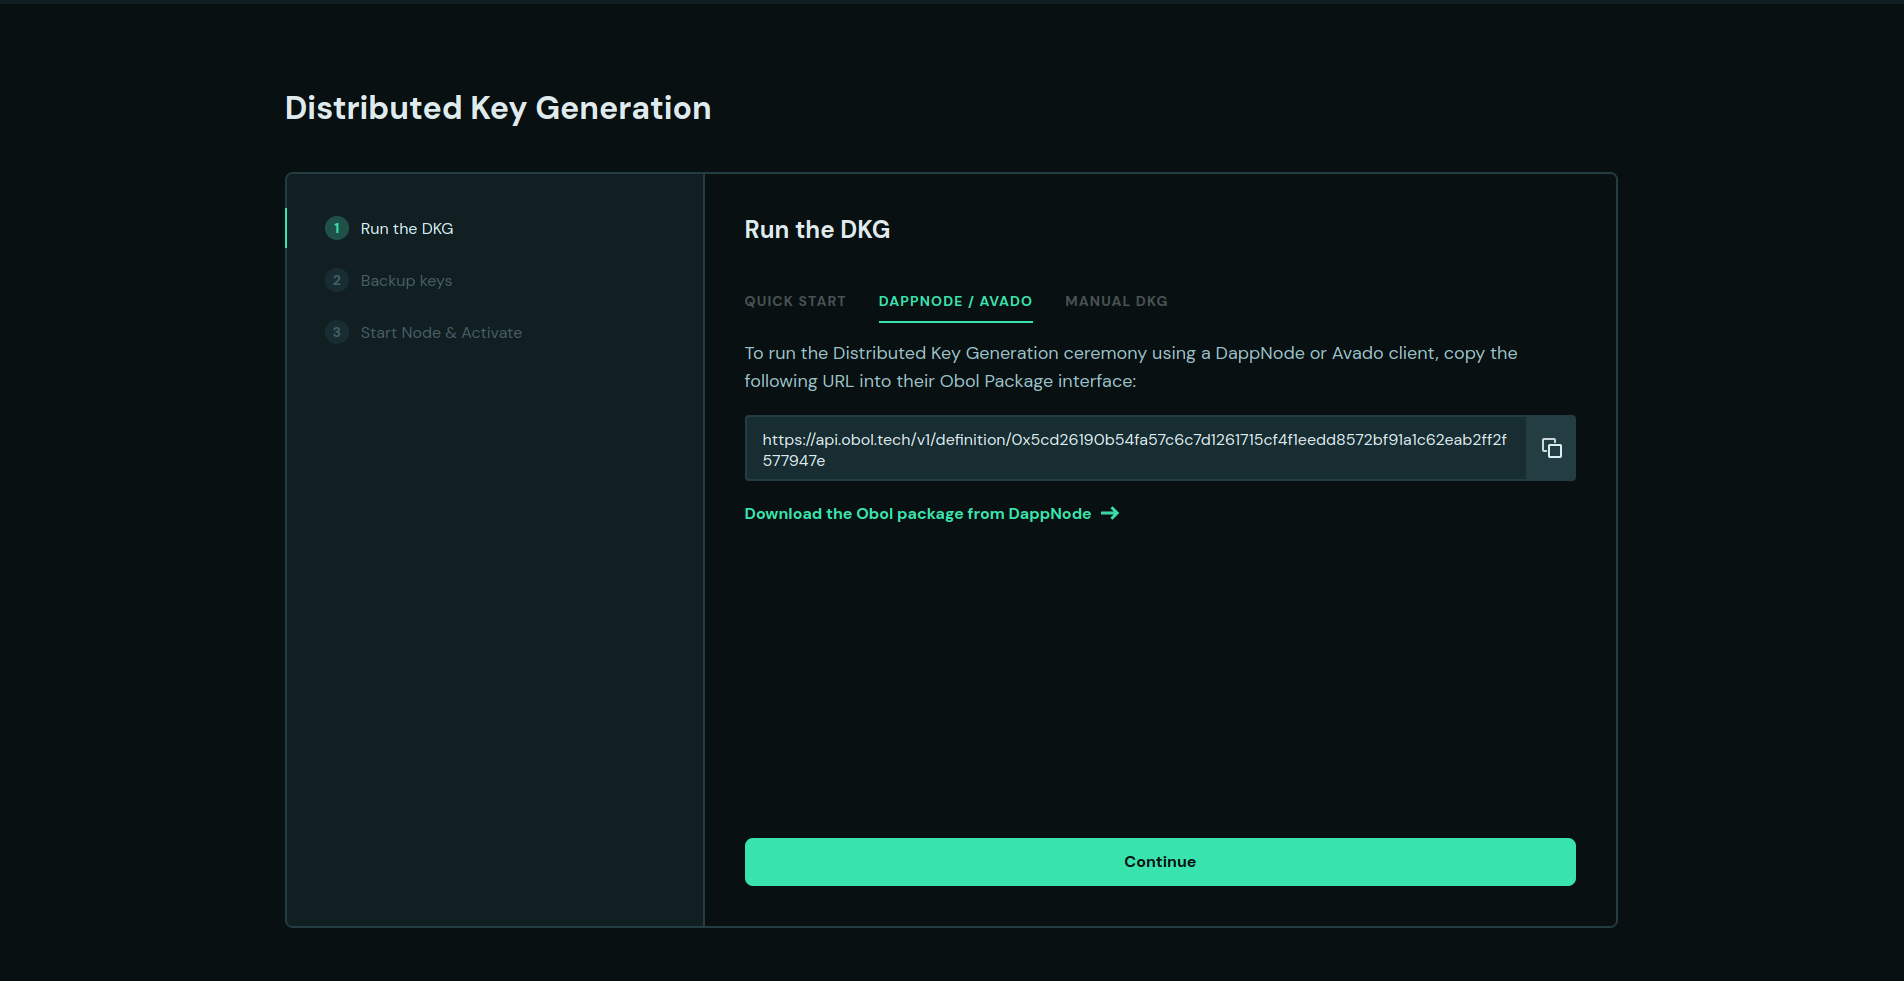
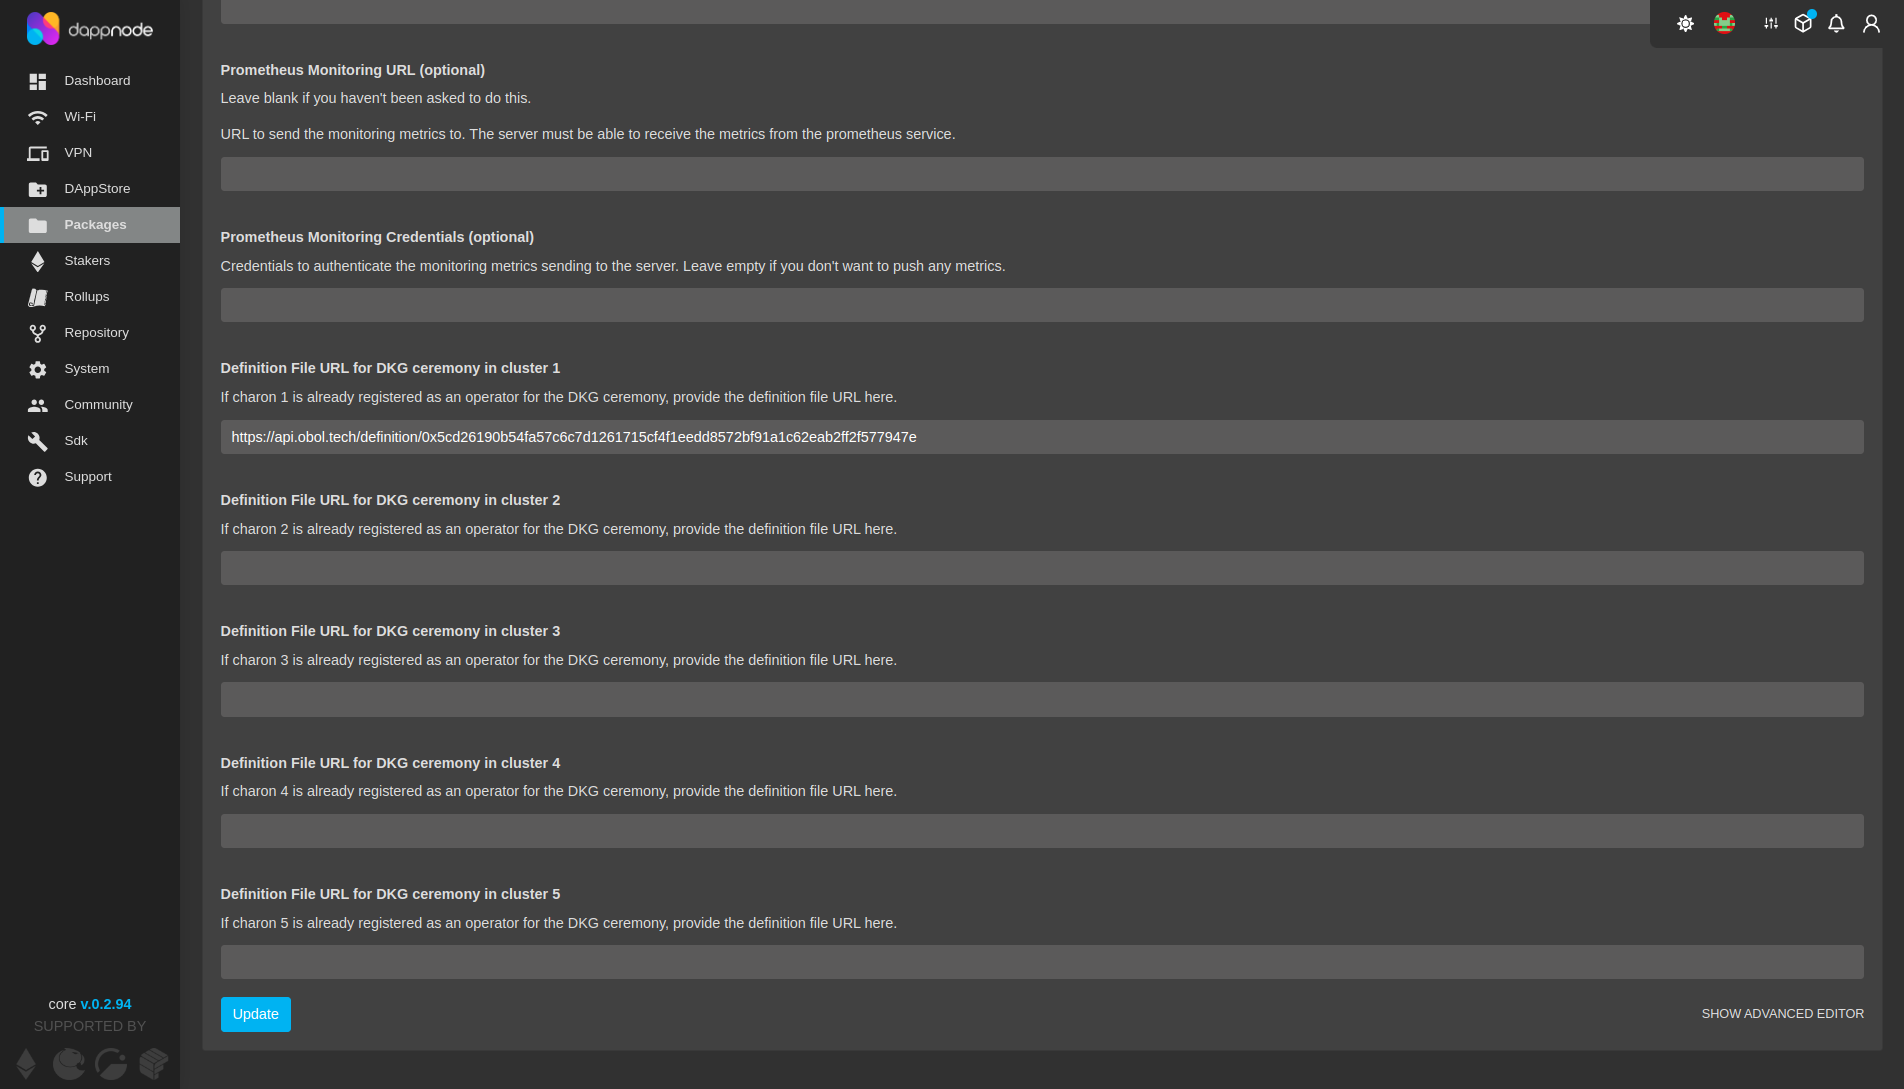
Copy the URL under the Dappnode tab in the Launchpad, go to your package's configuration section and enter it in the cluster number corresponding to the ENR you submitted in the launchpad. Make sure URL is selected under "Config Mode" and apply the configuration.
After all operators have completed this step the DKG ceremony will start automatically and each of the operators' keystores will be stored in the Obol package's database.
Please make sure to create a backup of your Obol package. If you lose your private keys you won't be able to start the DV cluster successfully and may risk your validator deposit becoming unrecoverable. Ensure every operator has their backup secured before activating any validators.
Adding Validators to an Active Cluster
After the DKG has succeeded and all of the operators have backed up their cluster's keys, it's time to move on to the validator's deposits. The launchpad will show you an option to submit a deposit_data.json file.
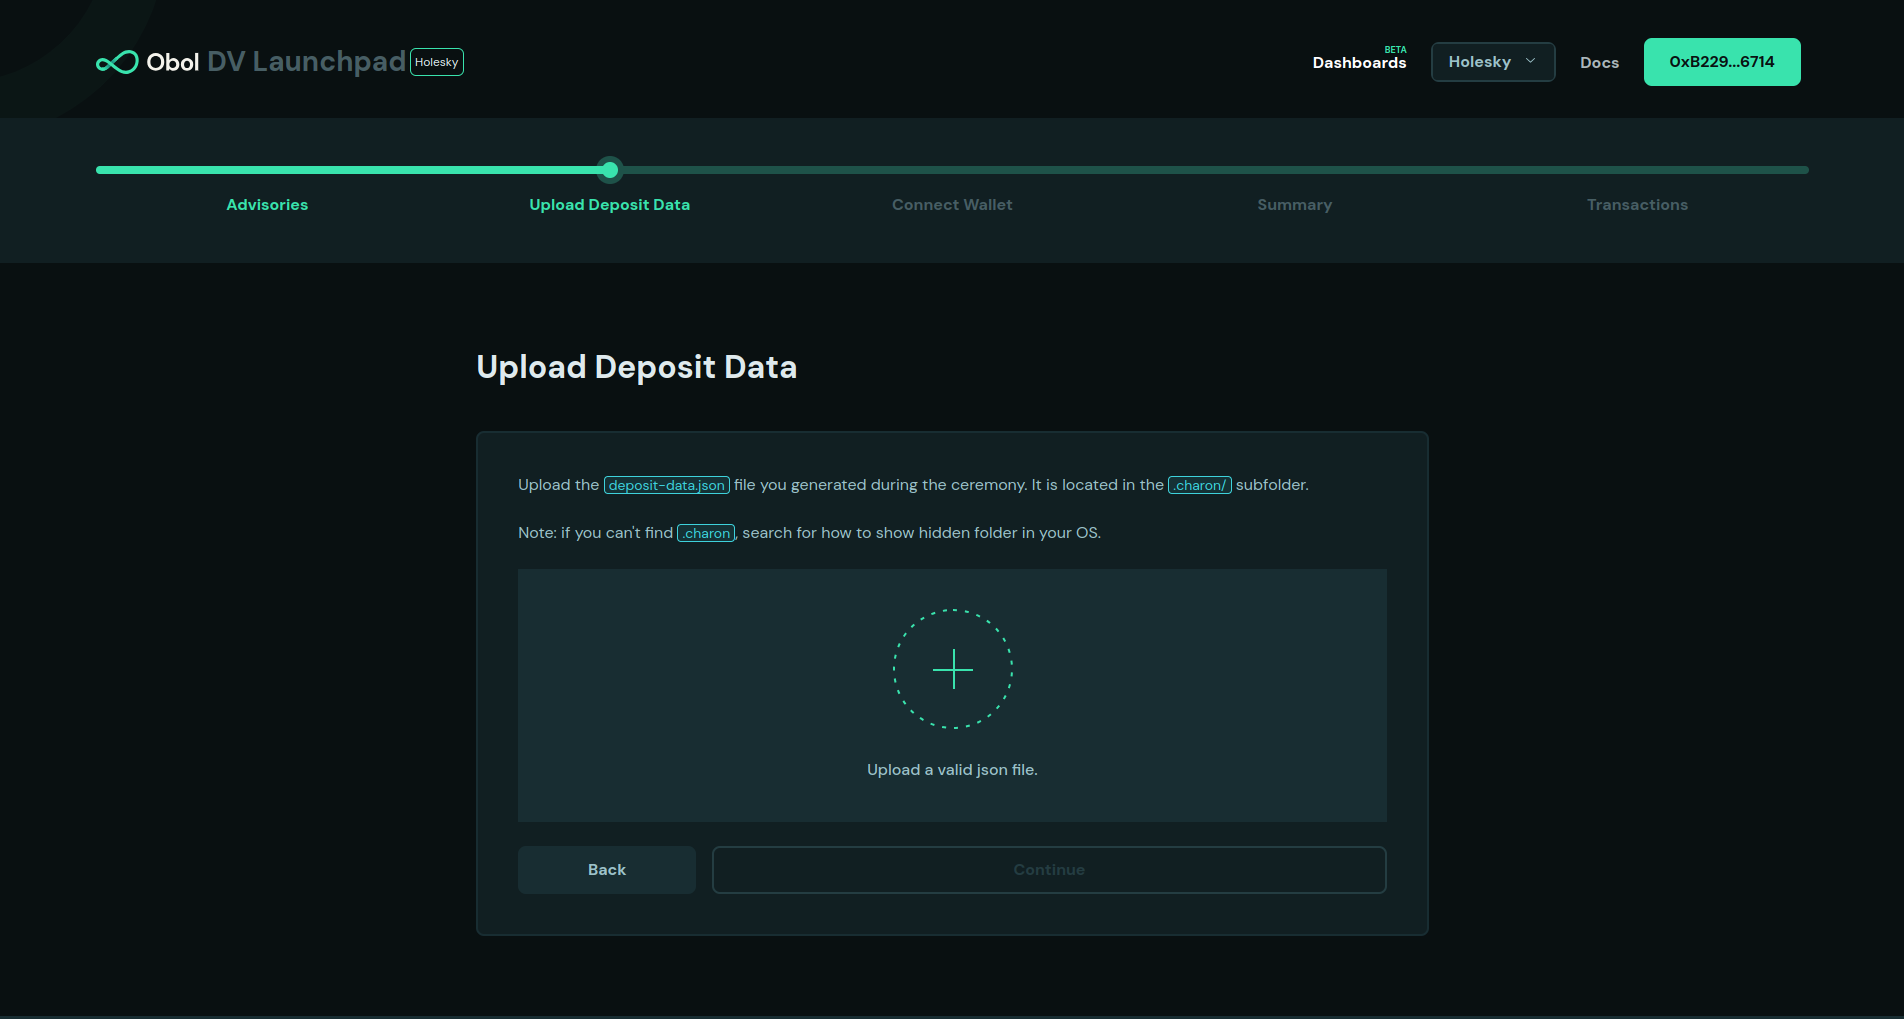
You can get this file if you decompress your Obol package's backup and look for it inside the charon folder corresponding to the cluster number you intend to run. The launchpad will confirm that you have enough balance in your connected wallet to perform the validator deposit and make you go over final checks prior to signing the deposit.
Remember that if you have any questions, you can always drop by the Dappnode Discord server to ask for community support.